2026/07/26
Inset.im Batch Export Is Now Available
Export one or more images with Inset.im, convert formats, adjust quality, and resize by width, height, long edge, or short edge.
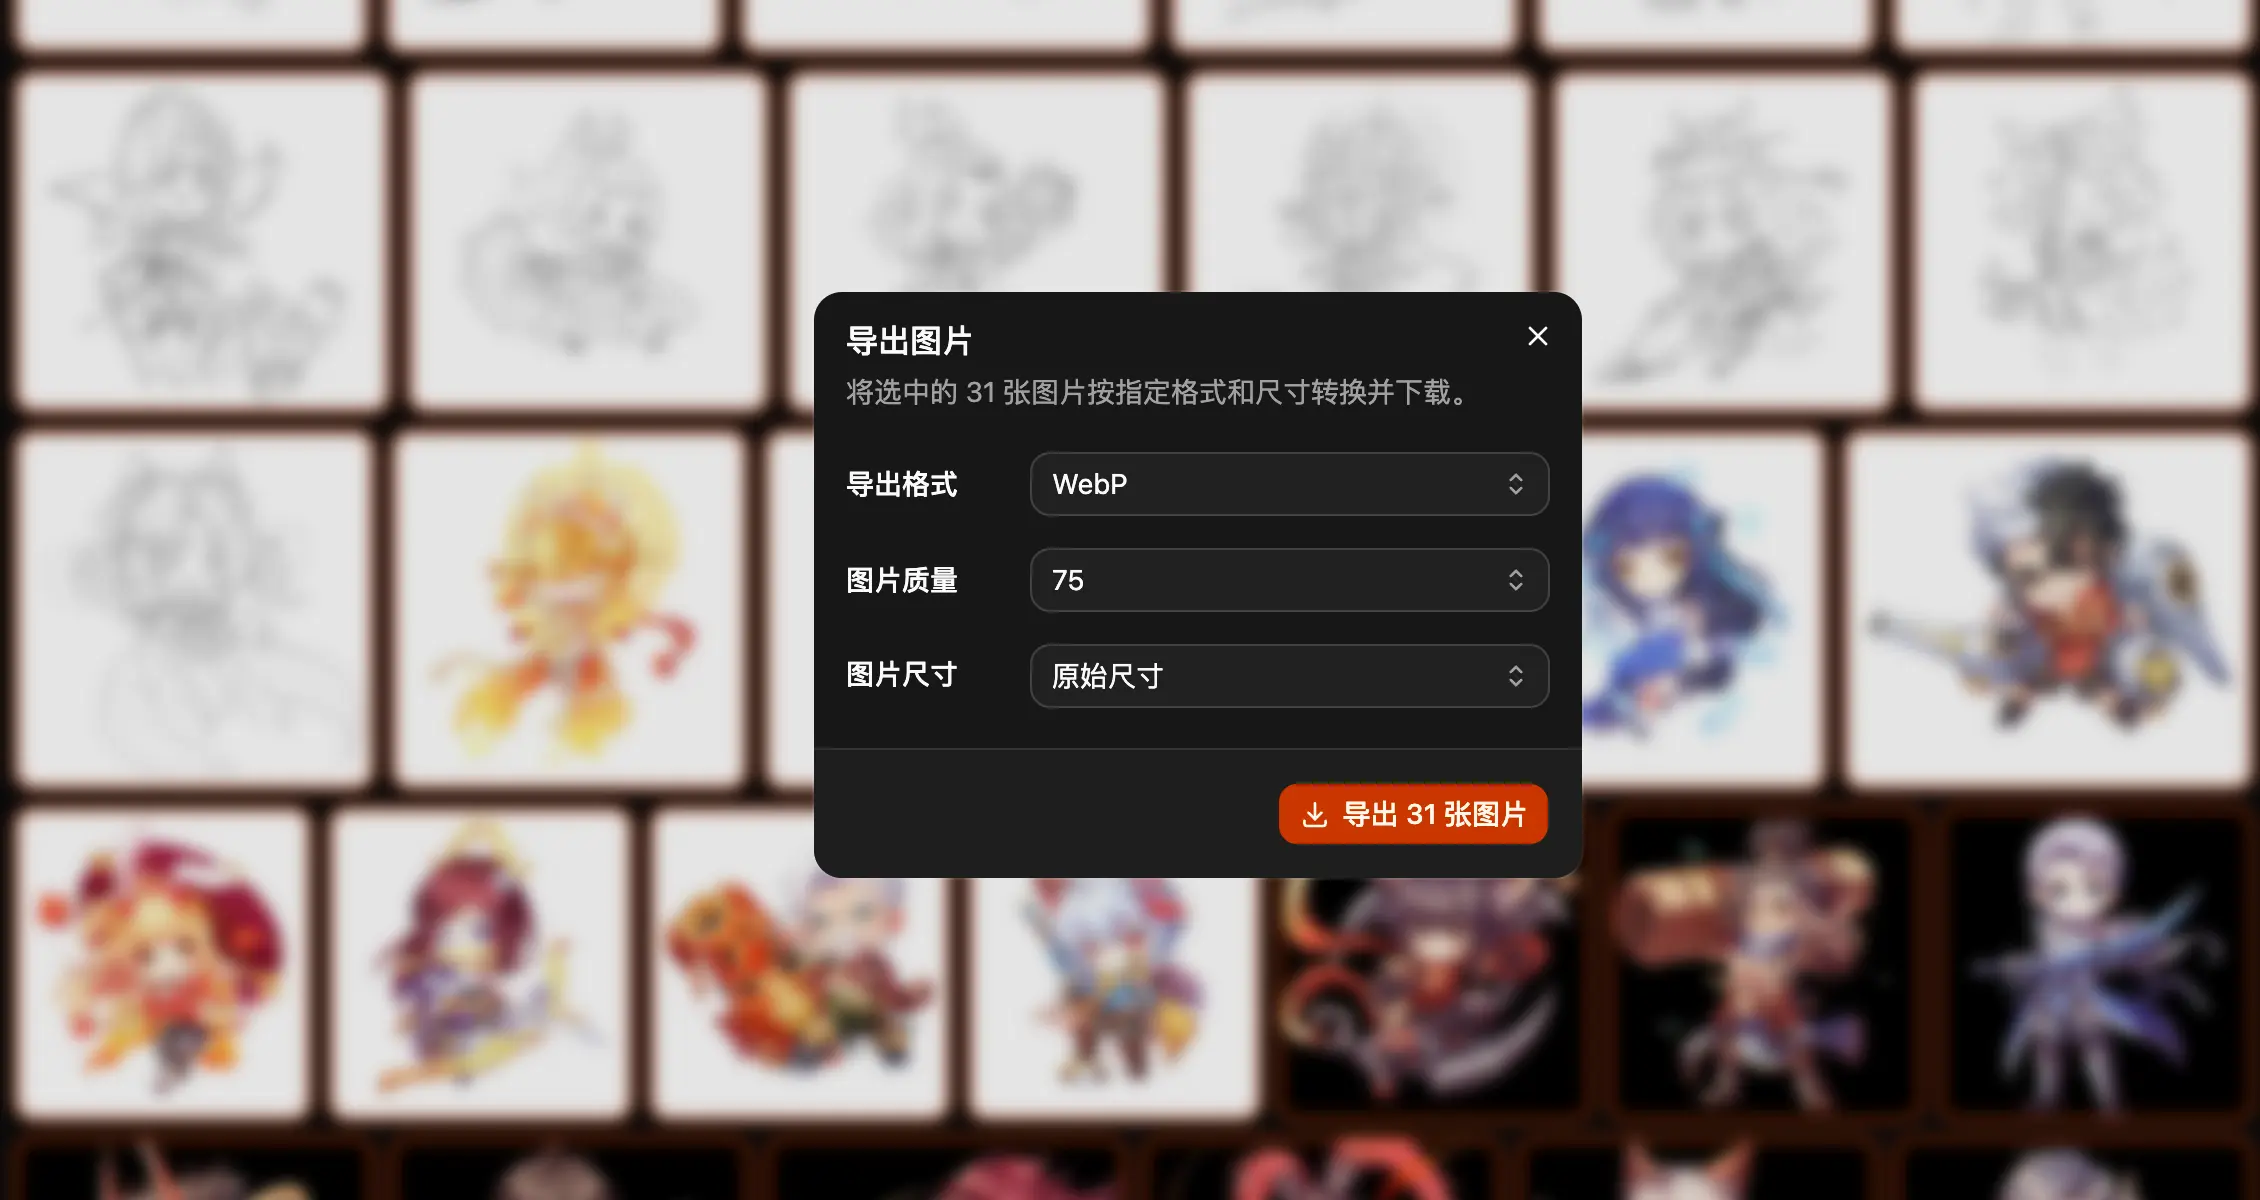
Inset.im now supports exporting one or multiple images. You can keep the original format or convert images to JPG, PNG, WebP, or BMP, then adjust quality and resize by width, height, long edge, or short edge. Every resize option preserves the original aspect ratio, so images are never stretched.
For a quick batch conversion, simply drag images into the browser library and export them. If your images are already organized in Inset.im, you can filter them by folder, tag, or search before exporting. Both workflows use the same export settings.
Two Ways to Start Exporting
Quick Tasks: Drag In Images and Export
If you only need to convert formats, resize, or compress a batch of images, open Inset.im and drag them directly into the browser library.
The free browser library stores up to 300 images, while Pro removes this limit. After dragging in images, select all of them or choose only the ones you need, open the context menu, and click Export to apply the same format, quality, and size settings.
The number of images your device can process at once, and the processing speed, depend on device performance, available browser memory, and the size of the original files. Exporting in smaller batches is more reliable when working with many images or very high-resolution files.
This workflow is ideal for one-off tasks: open the page, drag in images, and export the results. You do not need to create folders, tags, or a long-term library first.
Ongoing Work: Export from an Organized Library
If your images are already stored in an Inset.im library, use folders, tags, or search to find the images you need, then export them together.
This avoids finding the same files again. Product images, AI-generated images, article illustrations, and design references can all be organized in advance, selected for the current task, and exported in the required format and size.
Images in Trash can also be exported. Open Trash, select the images, and use the context menu without restoring them first.
What Inset.im Export Can Do
- Single or batch export: Export one image from the Inspector or select multiple images for batch export.
- Common format conversion: Keep the original format or convert to JPG, PNG, WebP, or BMP.
- Quality control: Set JPG and WebP quality from 5 to 100.
- Flexible resizing: Keep the original size or resize by maximum or minimum width, height, long edge, or short edge.
- Preserved aspect ratios: Resize landscape and portrait images together without stretching them.
- Organized downloads: Download a single image directly or package multiple images into a ZIP file. Duplicate file names are handled automatically.
- Background processing: Continue browsing and organizing your library while export runs in the background.
These features are not designed to add more complicated settings. They are designed to turn a selected group of images into files ready to publish, deliver, or edit as quickly as possible.
When to Use It
Website and Content Images
Convert images to WebP and limit the maximum long edge to reduce file size while keeping them clear. Landscape and portrait images can use the same setting.
Social Media Images
Content creators and social media teams can select a group of images from a library and export them together as JPG or WebP instead of converting them one at a time.
Product Images and Brand Assets
Use maximum width, maximum height, or maximum long edge to give a group of product images consistent output dimensions. Multiple images are downloaded in one ZIP file for easier sharing and archiving.
Design Delivery
Choose PNG when you need to preserve transparency. Select the original format and original dimensions when you want to keep the current file format and size.
AI Image Selection
After generating many images, sort and categorize them in Inset.im, then export only the final selections instead of searching through the original files again.
Quick Batch Conversion
Even if you do not normally use an image library, Inset.im can work as a drag-and-drop batch conversion tool. Download the results when processing is complete, with no need to organize the images first.
What Is the Difference Between Inset.im and Squoosh?
Squoosh is an excellent browser-based image compression tool. It works more like a compression lab for individual images: you can preview quality changes while fine-tuning encoder settings. This makes it a good fit for developers and anyone trying to optimize the size of a particular image as much as possible.
Inset.im focuses on multiple images and the complete workflow. You can drag in a temporary batch or maintain a long-term library, then filter and export images when you need them.
| Comparison | Inset.im | Squoosh |
|---|---|---|
| Quick processing | Drag in multiple images and export them with shared settings | Better suited to processing and comparing images individually |
| Organized images | Search and filter a library before export | Requires finding and opening the original file again |
| Batch workflow | Apply shared format and size settings, then download multiple images as a ZIP | Focuses on detailed control of an individual image |
| Setting depth | Provides common format, quality, and size controls | Provides more encoder and compression settings |
| Image management | Supports folders, tags, search, and ongoing organization | Does not manage a long-term asset library |
| Best for | Creators, social media teams, designers, and multi-image tasks | Developers, individual image optimization, and compression experiments |
The two tools are not complete replacements for each other:
- Squoosh is a better fit when you are working with one image and want to compare compression settings and visual quality carefully.
- Inset.im is a better fit when you need to process multiple images with the same settings.
- If your images are already organized in Inset.im, filtering and exporting them directly avoids finding and uploading the files again.
How to Choose Export Format, Quality, and Size
Choose a File Format
- Original format: Keep the current image format instead of converting it to another format.
- JPG: Suitable for product images, photographs, and general content images. Files are usually smaller, but JPG does not support transparent backgrounds.
- PNG: Suitable for transparent backgrounds, interface screenshots, and lossless output.
- WebP: A balanced choice for websites and social media when you want good quality with a smaller file size.
- BMP: Useful for older software or workflows that require BMP files. Transparency is also preserved.
If you are unsure, try WebP for website images, PNG for transparent backgrounds, or the original format when you do not want to change the file format.
Set Image Quality
JPG and WebP support quality values from 5 to 100. Higher values generally produce better visual quality and larger files. Lower values reduce file size but can make compression artifacts more visible.
For website or social media images, 75 is a useful starting point. Choose a higher quality or keep the original format for further editing or archiving. PNG and BMP do not use this lossy quality setting, so the quality control is disabled for those formats.
Set Image Dimensions
The following resize rules are available:
- Original dimensions
- Maximum width or maximum height
- Minimum width or minimum height
- Maximum long edge or maximum short edge
Every rule preserves the original aspect ratio. For example, if you select Maximum long edge and enter 1920, the width of a landscape image or the height of a portrait image is limited to 1920 pixels. This makes the setting useful for mixed landscape and portrait batches.
Maximum rules only reduce images that exceed the target and never enlarge smaller originals. Minimum rules enlarge images that do not meet the target. The entered dimension cannot exceed 16,384 pixels.
Image placeholder: format, quality, and dimension settings in the export dialog
How to Export Images
Export Images Immediately After Dragging Them In
- Open the Inset.im image library.
- Drag one or more images onto the page and add them to the browser library.
- Select the images you want to process and open the context menu.
- Click Export.
- Choose the format, quality, and dimensions, then confirm the export.
A single image downloads directly after processing. When multiple images are selected, Inset.im creates an inset-{timestamp}.zip file.
Export from an Existing Library
- Open the image library you want to use.
- Narrow the results with folders, tags, or search.
- Open Export from the Inspector for one image, or select multiple images and click Export in the context menu.
- Choose shared format, quality, and dimension settings.
- Confirm the export and follow the conversion, packaging, and download status in the progress bar at the top of the library.
The dialog closes after export starts. Processing continues in the background without interrupting browsing or organization.
Frequently Asked Questions
Why Are Multiple Images Downloaded as a ZIP File?
Multiple images are packaged together to avoid triggering a long series of browser downloads. Extract inset-{timestamp}.zip to access all exported files.
Why Did the File Name Change After Export?
A single image keeps the base of its original file name. Converting the format changes the extension. If a batch contains duplicate names, Inset.im adds a number automatically to prevent files from overwriting one another.
Why Was My Image Not Enlarged After I Set a Size?
Maximum width, maximum height, maximum long edge, and maximum short edge limit image dimensions. They only reduce images that exceed the target. Choose minimum width or minimum height when you need to enlarge smaller images.
Does Export Modify or Delete the Original Image?
No. Export creates new downloadable files without modifying or deleting the original images in your library.
What Should I Do If Export Fails?
The original images remain available. Check browser download permissions and available disk space, then try again. If you are processing many images or very high-resolution files, export them in smaller batches.
A Quick Recommendation
Choose Original format + Original dimensions when you only need the current files. For website or social media images, try WebP at quality 75 with the maximum long edge set to 1920. Choose PNG when you need transparency. For mixed landscape and portrait batches, maximum long edge is usually the simplest option.
Whether you drag in images for a quick task or select assets from a long-term library, Inset.im keeps format conversion, resizing, and batch download in one export workflow.
All posts
2026/08/12
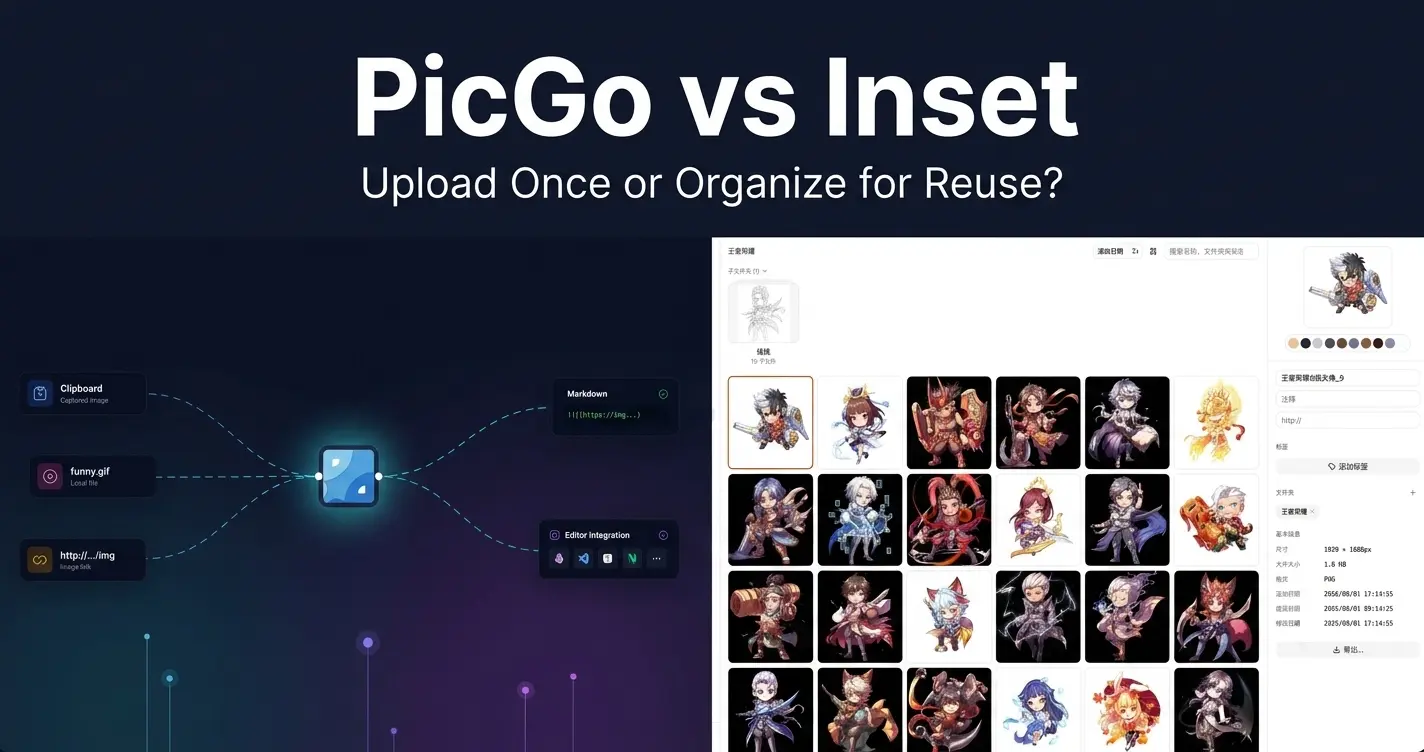
PicGo vs Inset
A practical comparison of PicGo and Inset across image uploading, link copying, asset organization, search, processing, and long-term reuse.
2026/08/11
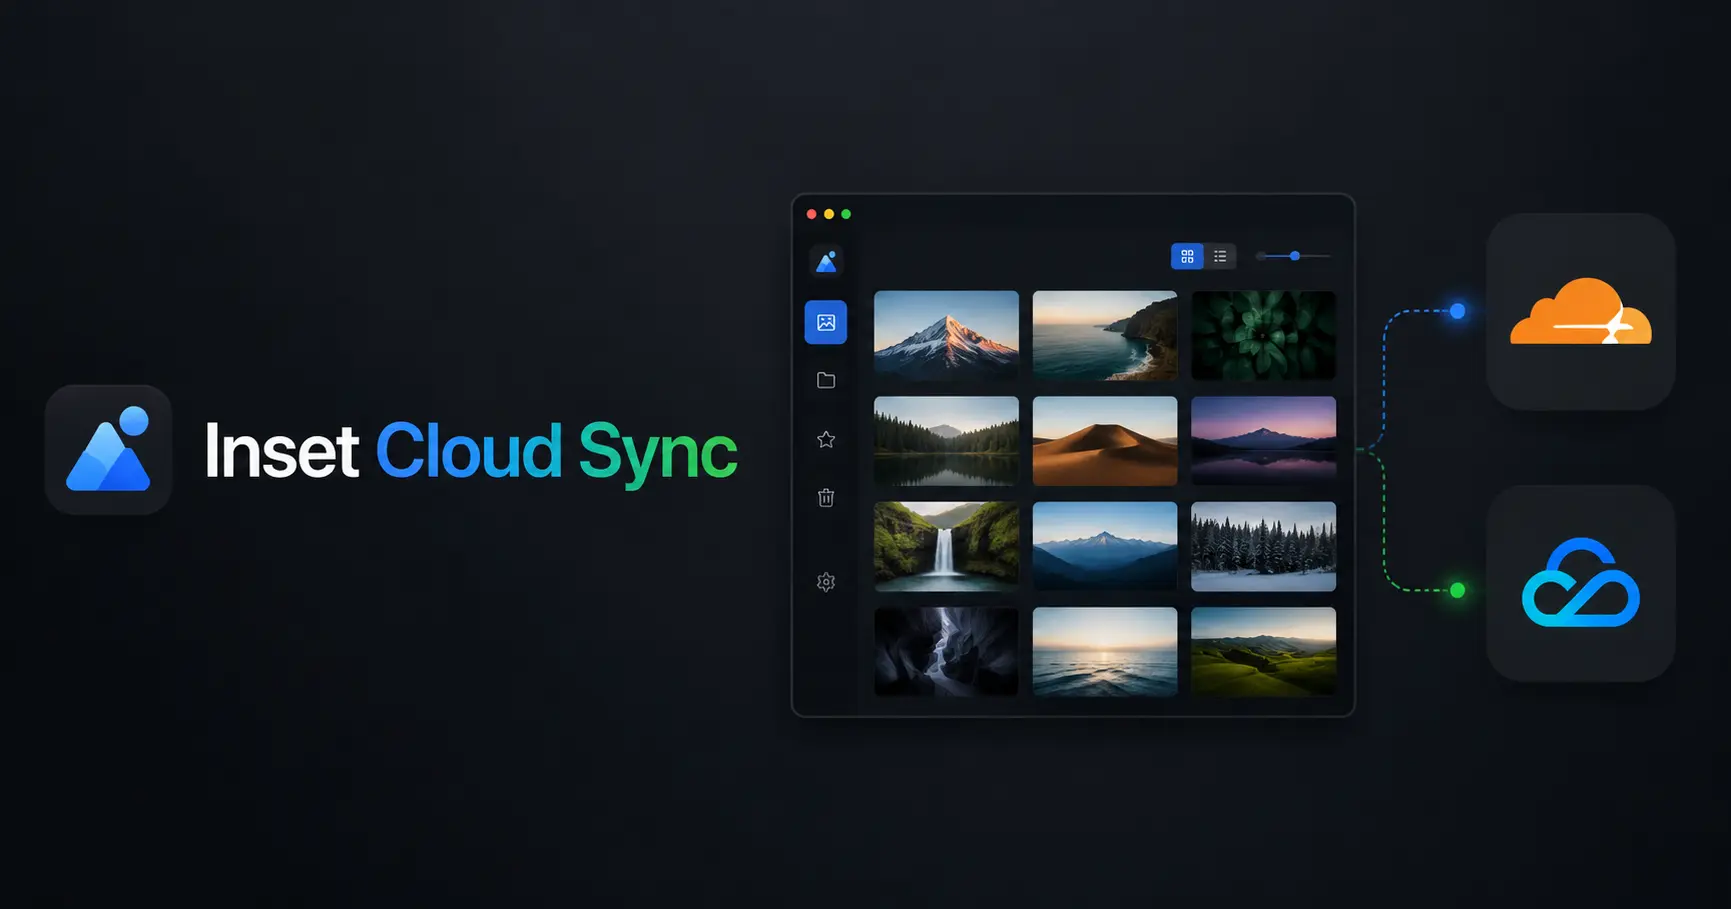
Inset Cloud Sync Is Now Available with Cloudflare R2 and Tencent Cloud COS
Inset now syncs local libraries with Cloudflare R2 and Tencent Cloud COS, with automatic sync, provider switching, and sync record recovery.
2026/08/05
What to Do When a Government Website Requires an Image Under 300KB
Use a browser-based tool to compress a JPG or PNG to under 100KB, then upload it to a government or public-service website with a 300KB file limit.
2026/08/05
Pixcall vs Inset — Which Asset Manager Fits Your Workflow?
Compare Pixcall and Inset across local file ownership, desktop and browser workflows, cloud sync, image organization, processing, and sharing.
2026/08/04
S3 Browser (Now CS Browser) vs Inset — Which Should You Choose?
Compare S3 Browser, now called CS Browser, with Inset across platforms, bucket administration, asset organization, image processing, and everyday workflows.
2026/08/03
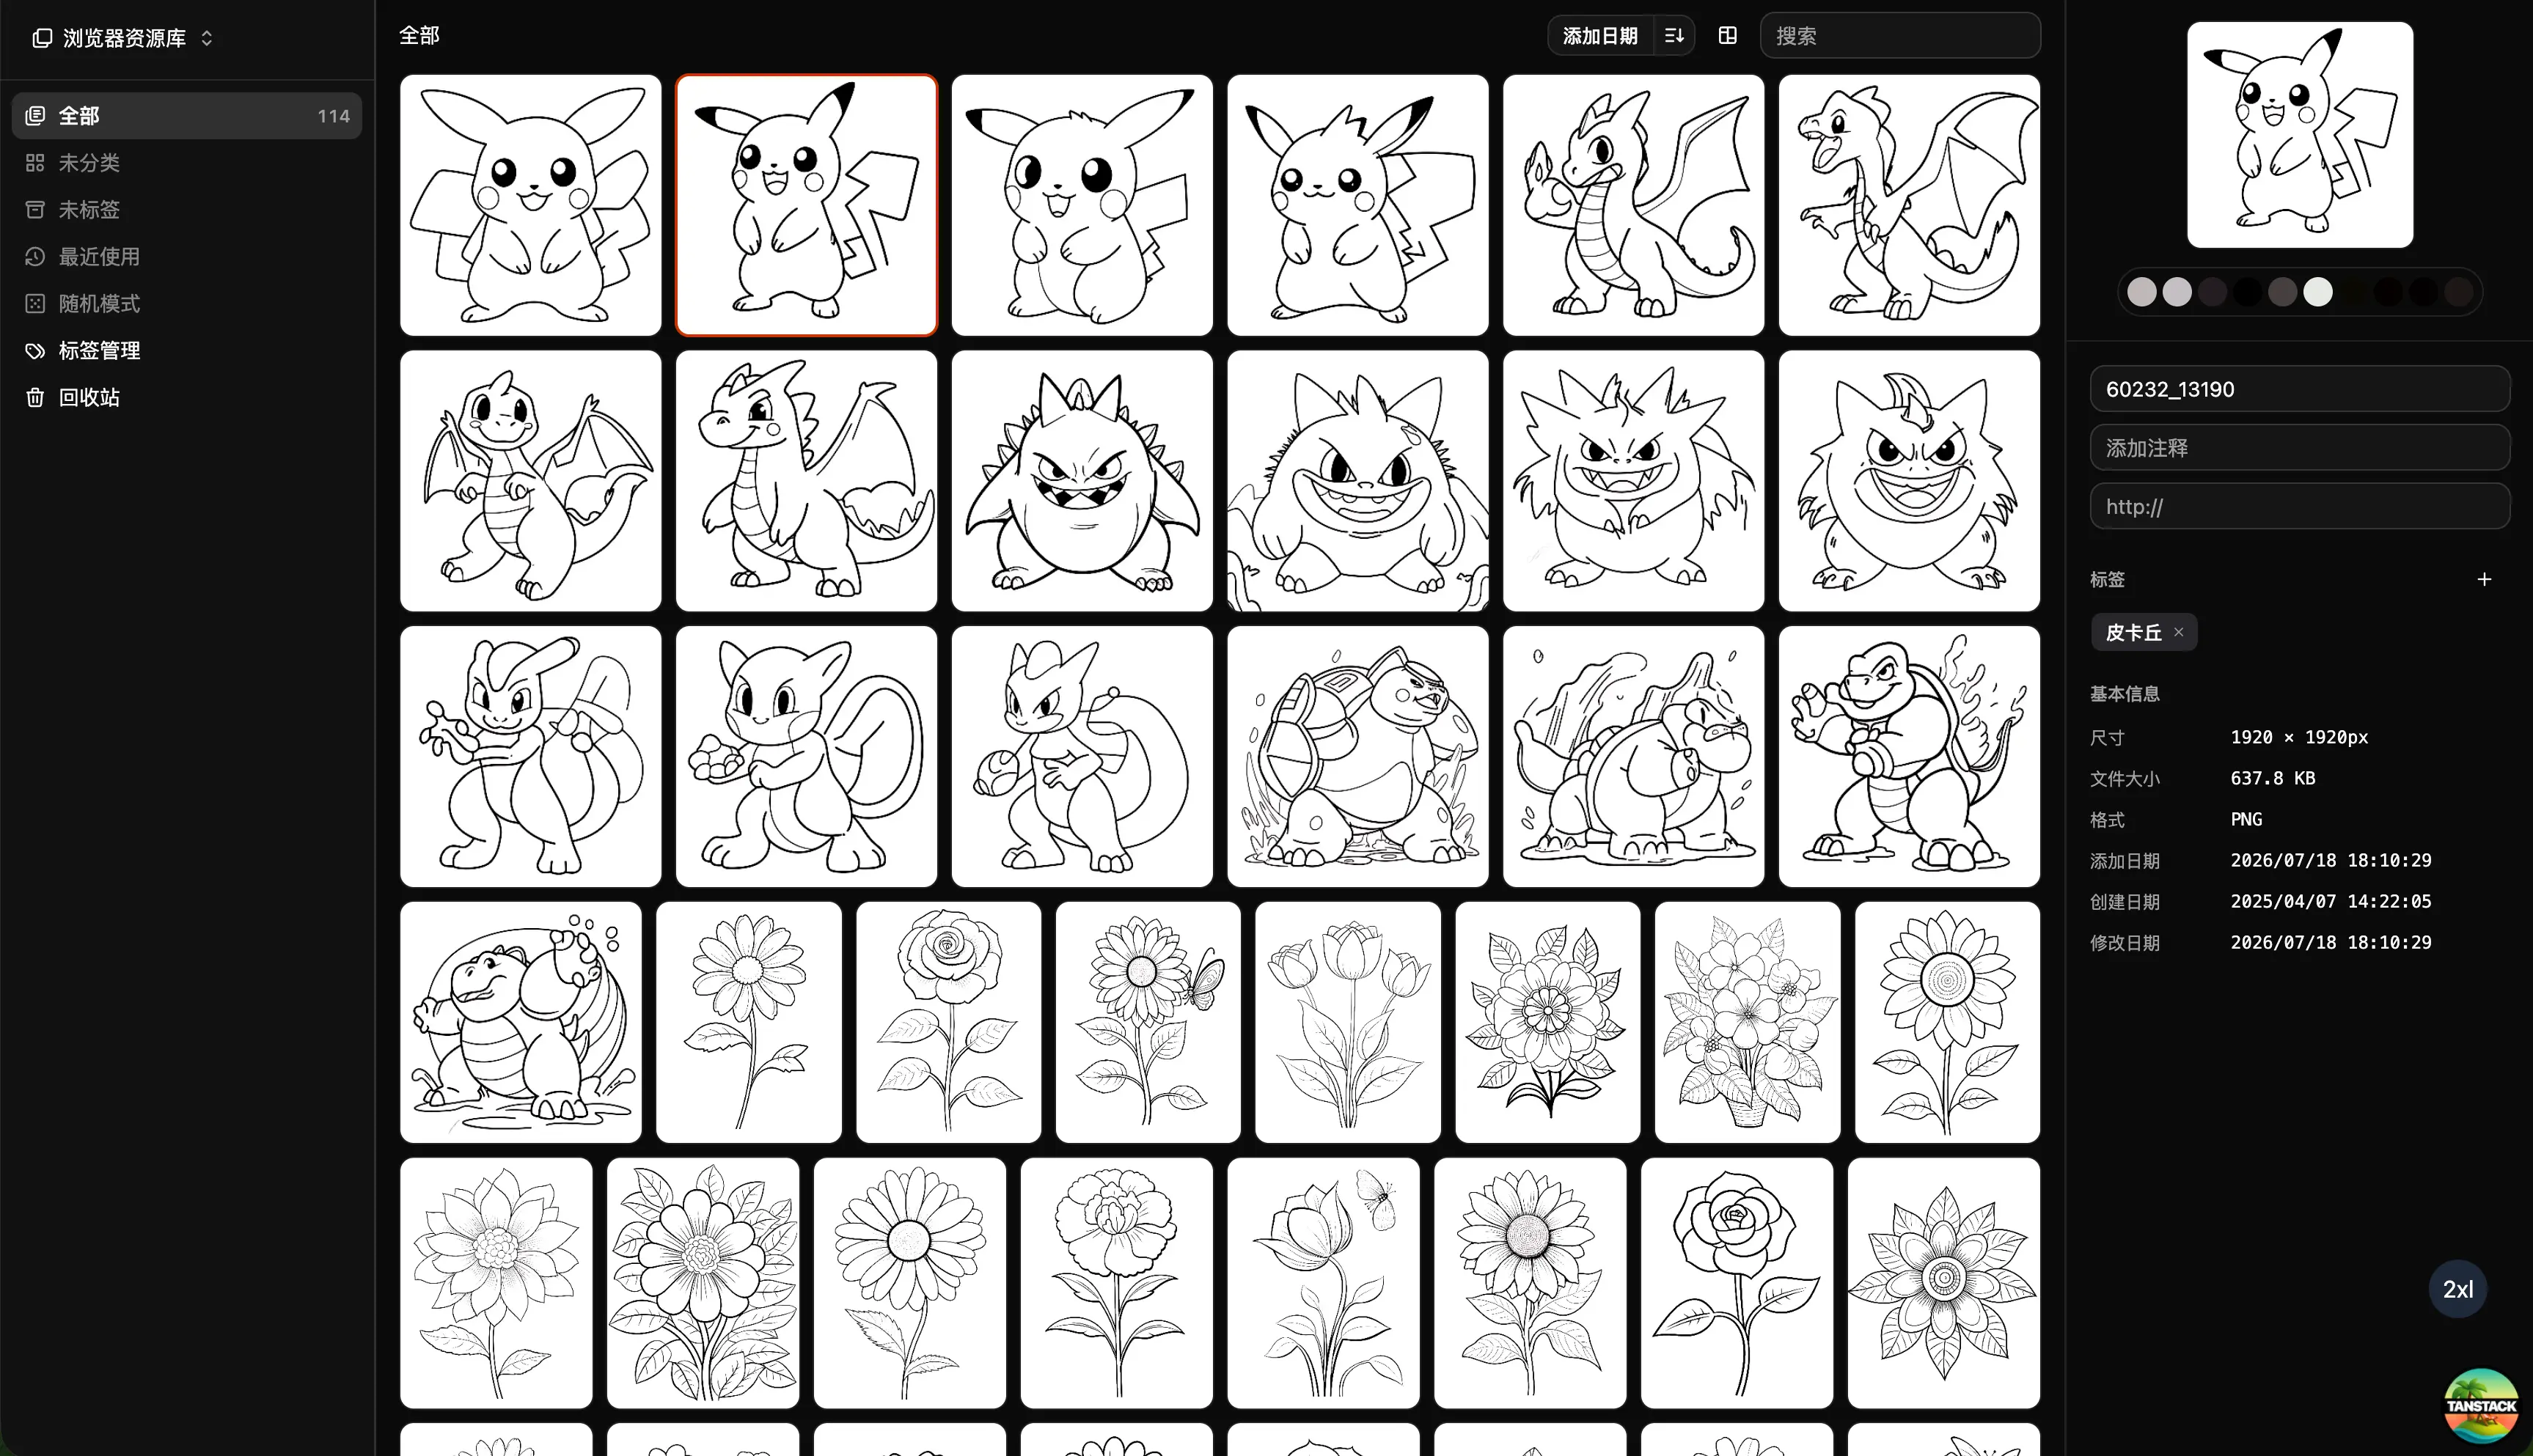
Can Inset Replace Eagle + Nutstore?
A practical comparison of Inset, Eagle, and Nutstore for image organization, file syncing, storage, browser access, image links, and object storage workflows.
2026/08/03
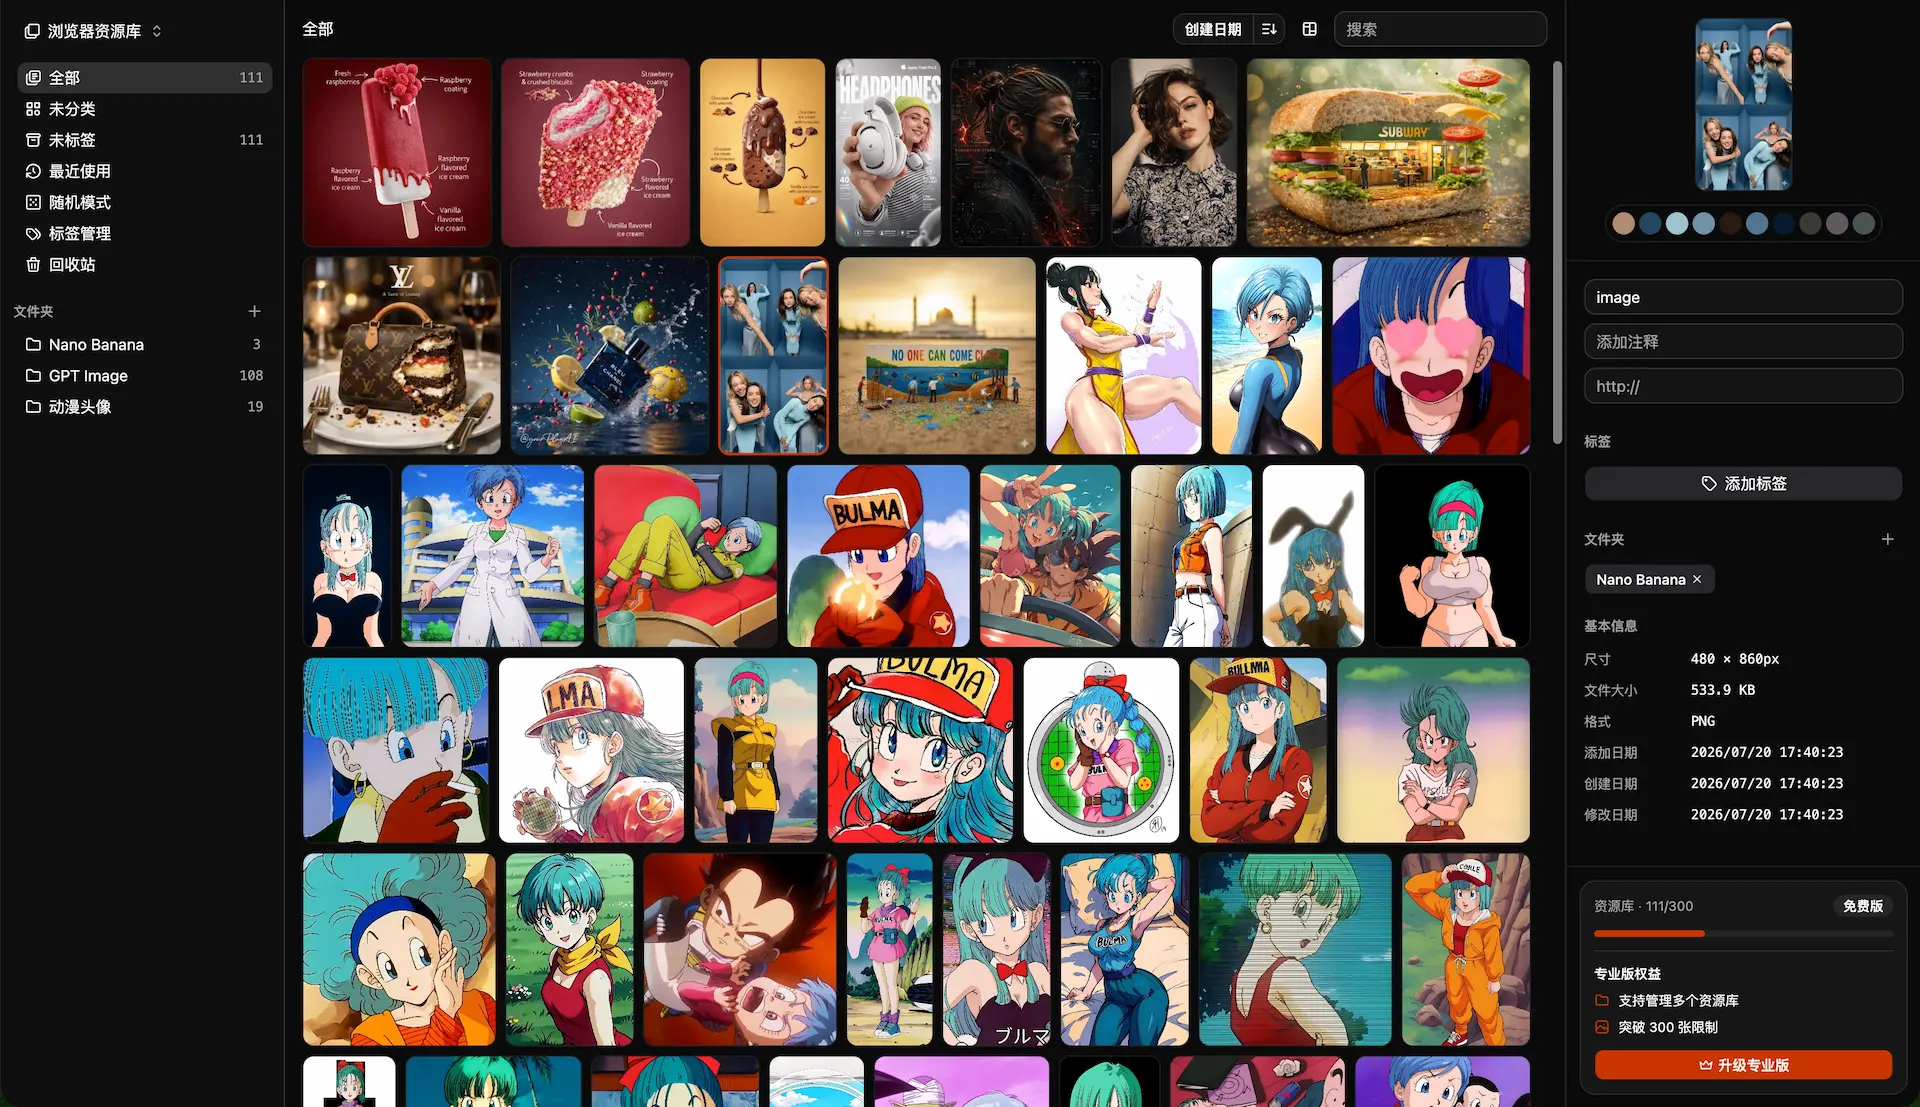
Lsky Pro vs Inset.im: Which Image Tool Should You Choose?
A practical comparison of Lsky Pro and Inset.im, covering image uploads, storage, sharing, link copying, self-hosting, asset organization, and everyday workflows.
2026/07/31
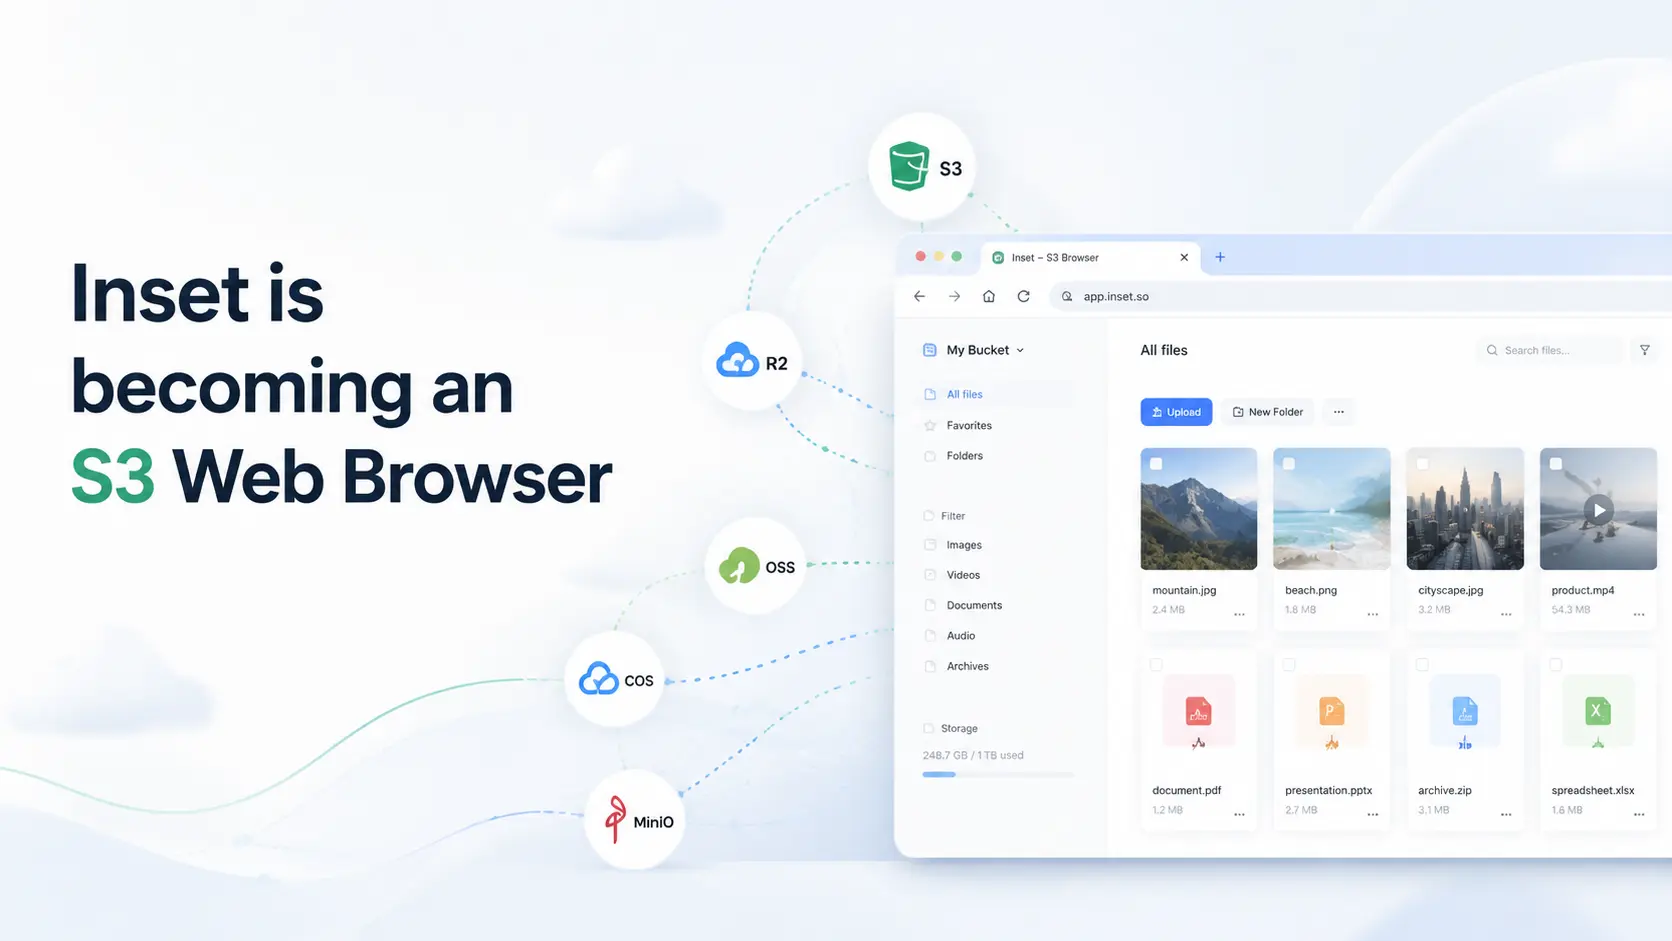
Inset is becoming an S3 Web Browser
Inset is moving from a browser-based image library toward a modern S3 Web Browser for managing cloud bucket files and visual assets online.
2026/07/26
Inset.im Batch Export Is Now Available
Export one or more images with Inset.im, convert formats, adjust quality, and resize by width, height, long edge, or short edge.
2026/07/22
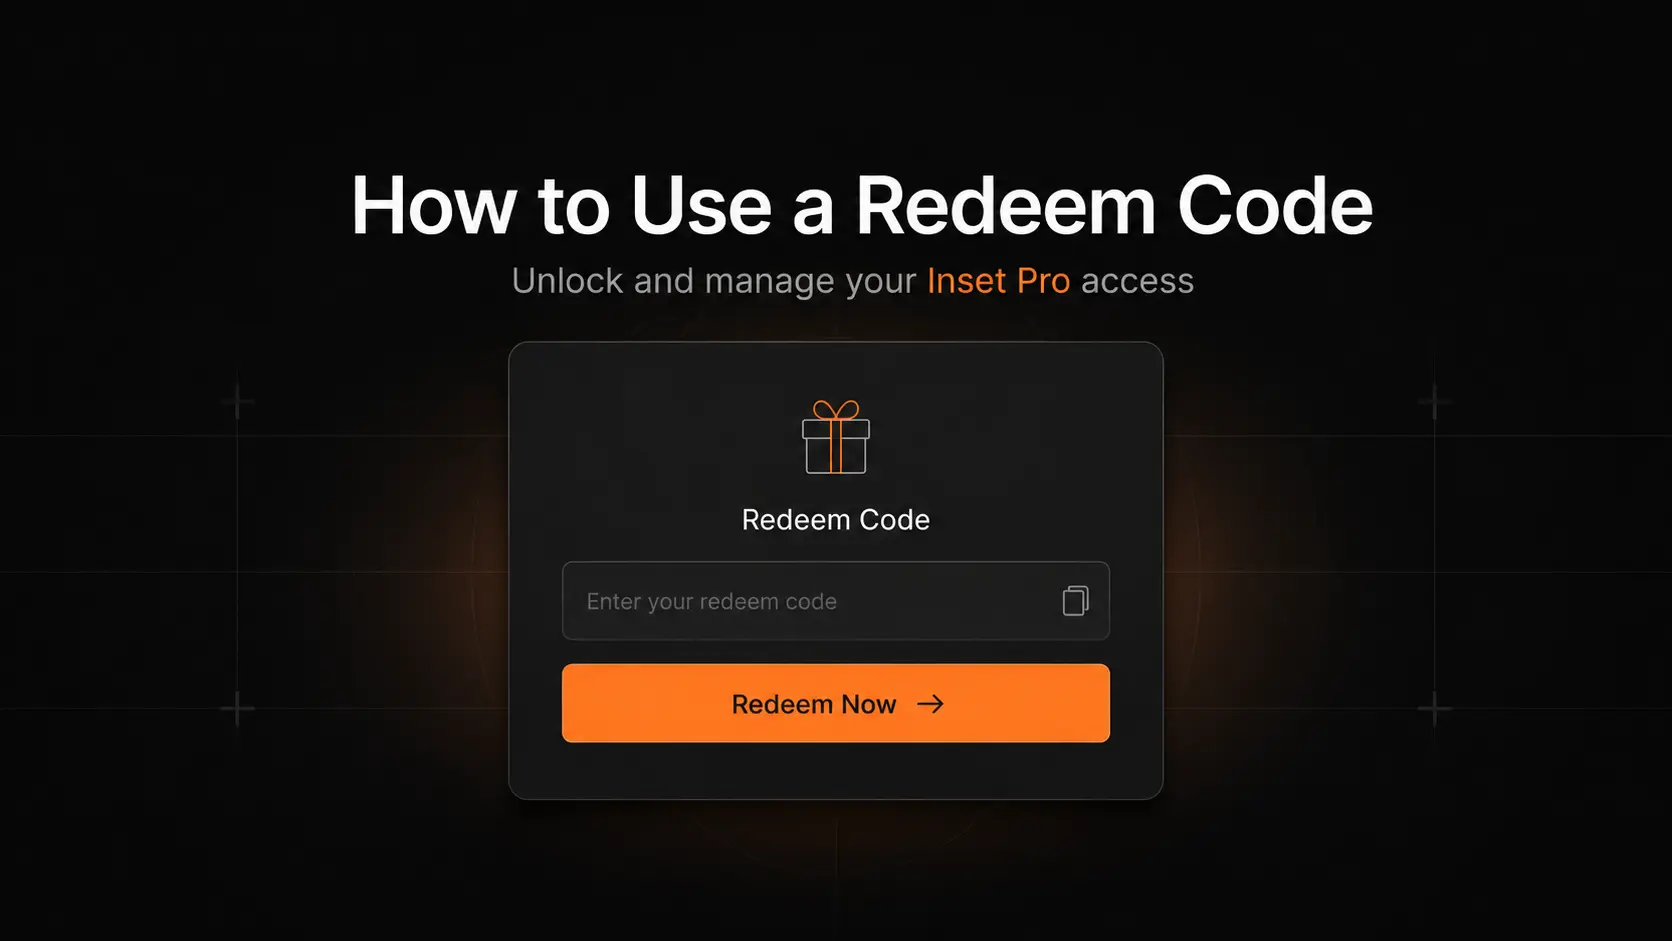
How to Use a Redeem Code on Inset.im
Learn how to redeem Pro access on Inset.im, check when it becomes active, review your entitlement status, and resolve common redeem code errors.
2026/07/20
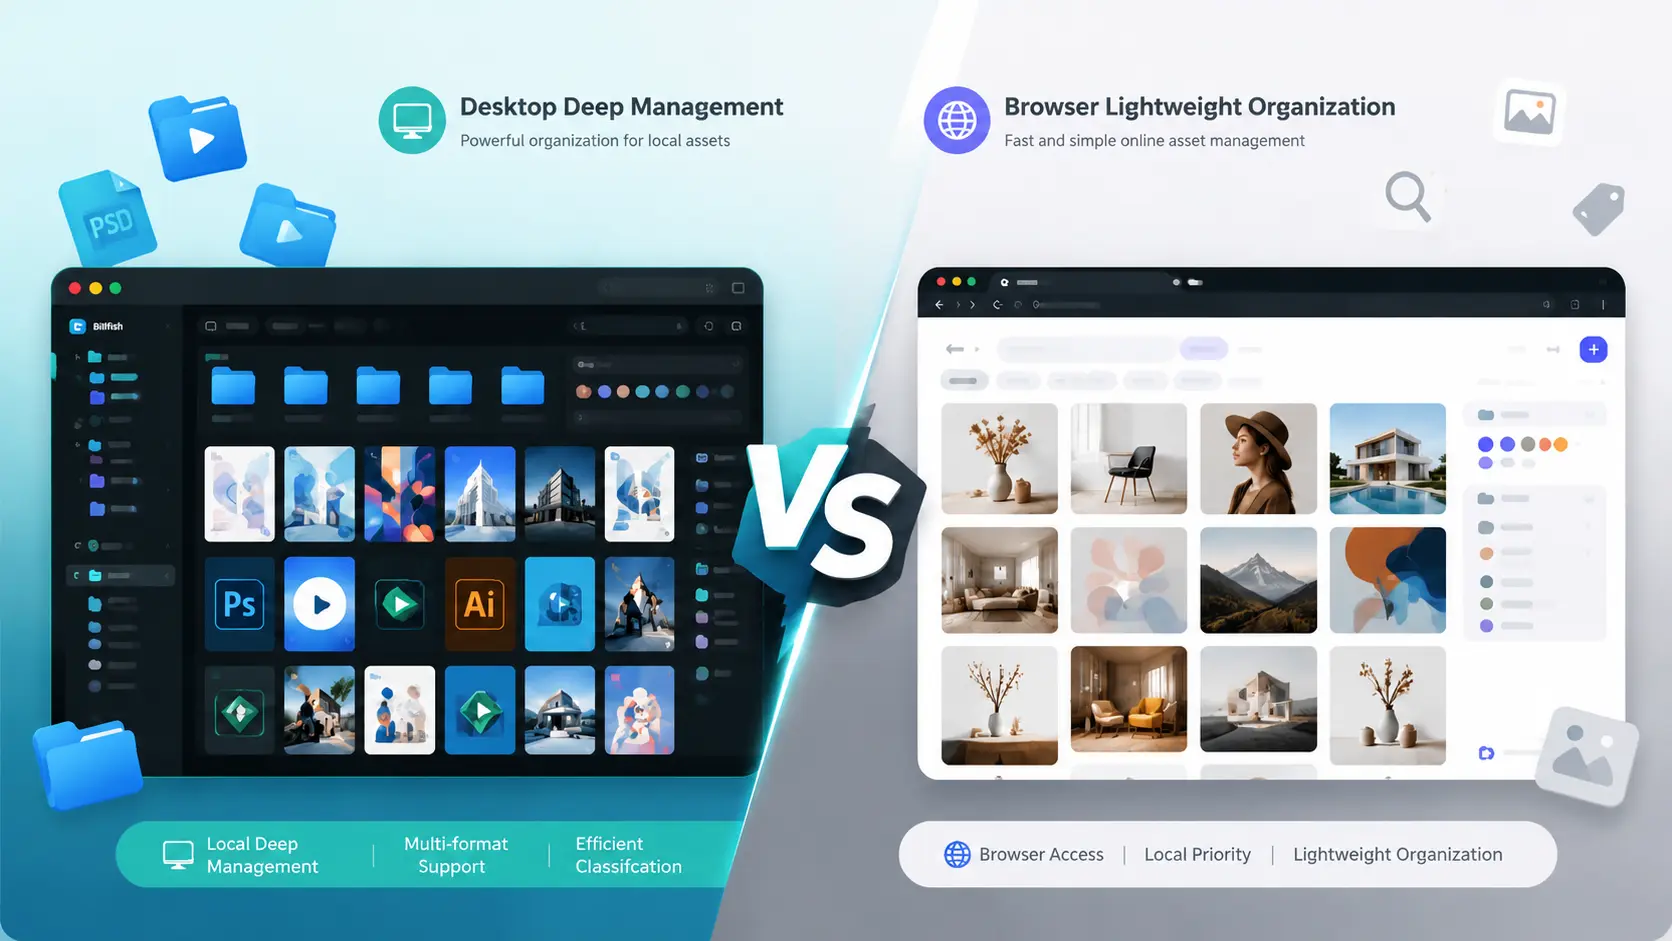
What Is the Difference Between Billfish and Inset.im
A practical comparison between Billfish and Inset.im, covering desktop asset management, browser-based image libraries, local-first storage, supported formats, organization workflows, and ideal users.
2026/07/18
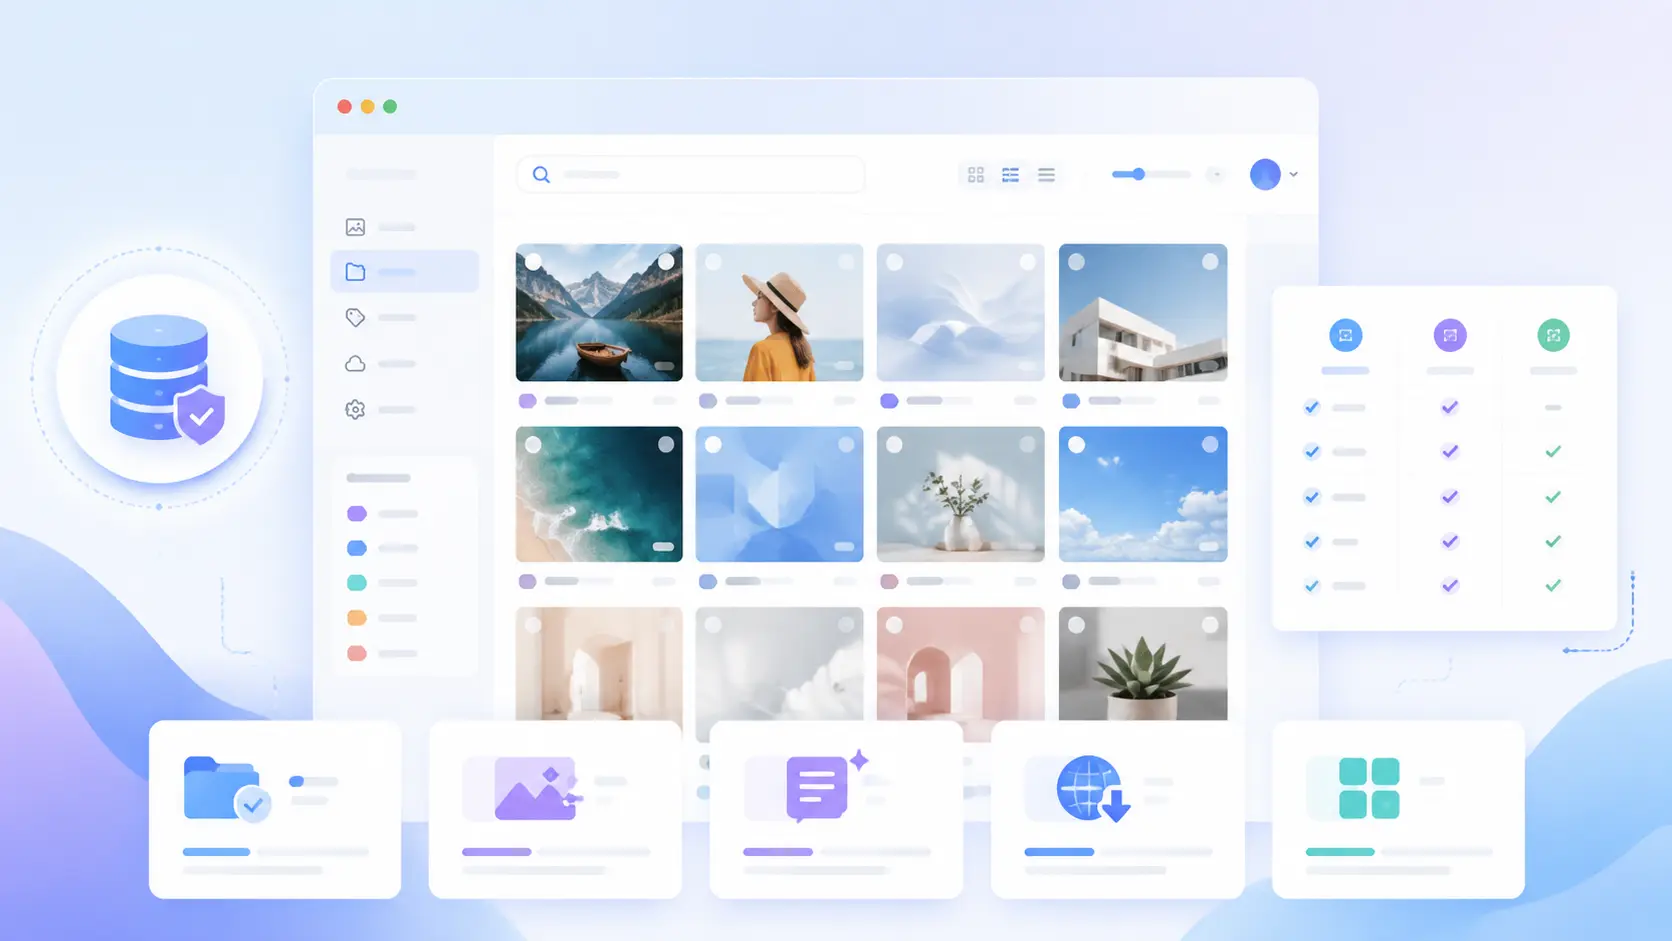
Image Asset Management Tool Selection Guide
A practical guide to choosing between Eagle, Billfish, Pixcall, Adobe Bridge, and Inset.im based on library structure, local-first storage, Eagle compatibility, image processing, prompt management, and image organization scenarios.